Help Center
How can I add or modify (single) location data?
1. Go to the Locations tab and click on “Add location” on the top left of the page.

If you want to lean more about the different fields, click here.
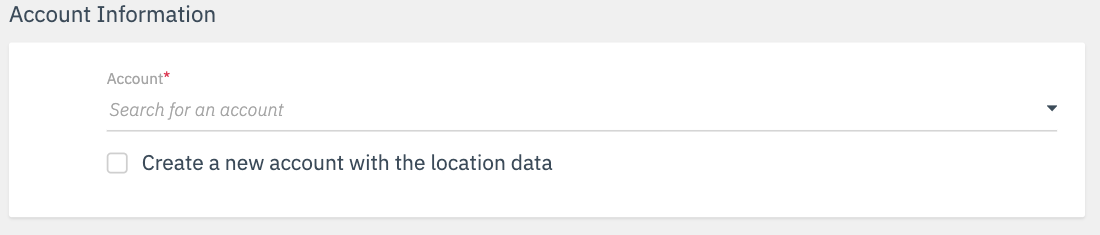
2. To add the location to an existing account, select the relevant account from the drop-down menu.
To create a new account, mark the checkbox “Create a new account with the location data“. This action will automatically create a new account based on the location data.
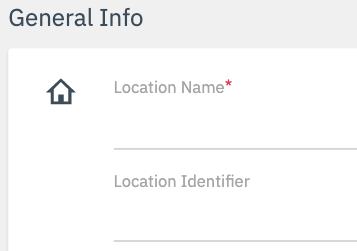
The ‘Location Identifier‘ is not a mandatory field, however, we recommend you appoint one to all of your locations to be able to modify your location data in bulk with the import function.
3. We advise you to enter the information on the following three sections as best as possible. They allow you to enrich your profiles with more content, giving consumers relevant information about your locations:
- Basic Data – general, contact and business description info, as well as internal Labels;
- Rich Data – links to your social media profiles and more specific details about your location;
- Photos & Videos – which increase the attractiveness of your profiles.

Address
Note that the address must contain explicitly street and street number otherwise you will be prompted with a map to manually place the pin.
4. After saving your data entry by clicking on “Save changes”, a pop-up window will appear.
This is where you confirm the location by clicking on “Buy now”.
Note: Every newly created location will be invoiced according to your contract terms and conditions.
5. The new location is now created and you can review all the information you have provided.
To modify the data, update the field and click on “Save changes”.
